Following Original manuals, the file repair should be done in at least 3 paths, 4 if your phono preamp don’t have a subsonic filter and low frequency corrections.
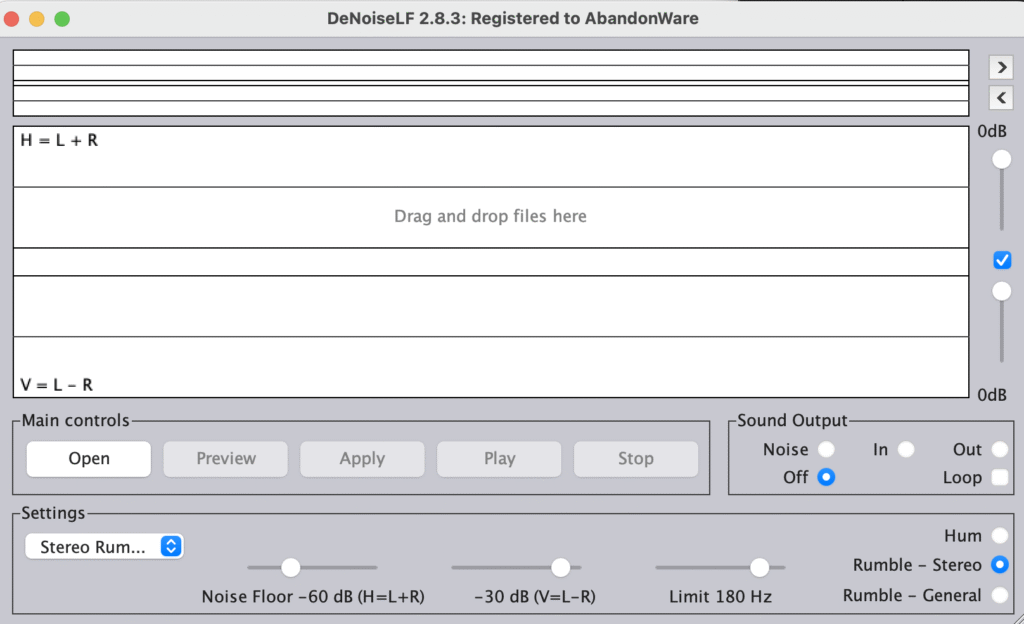
1) DeNoiseLF
Optional if your phono preamp has all the needed filtering. For example if you are using a Fidler Classic Audio preamp, this step is covered by your preamp.
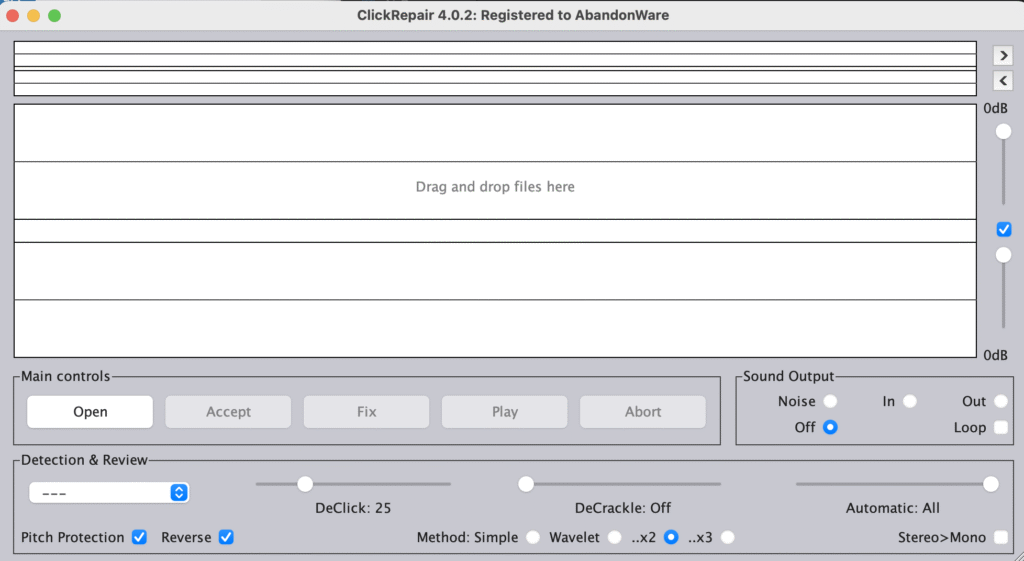
2) ClickRepair first pass
ClickRepair should be used using 2 passes, the first one to declick and the second one to decrakle, the values shows on the screenshot should be seen as a starting point for a VG+ record. You can go up to 50 until you will clearly hear a sound degradation but some people hear some changes in transients.
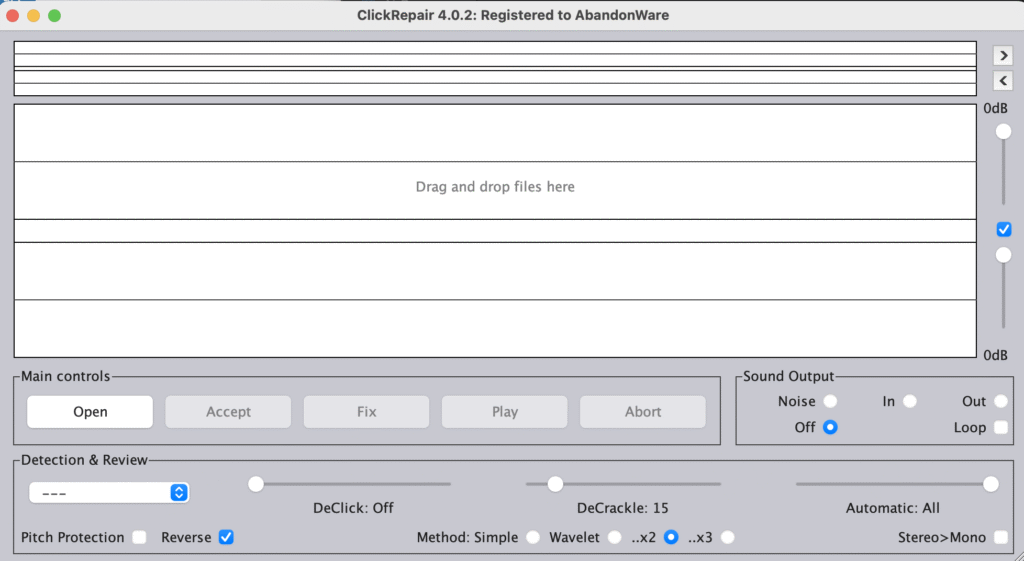
3) ClickRepair second pass
I usually keep decrackle to a low value because it needs to disable some of the protections and is more prune to false detections and musical alterations so try to stay below 17.
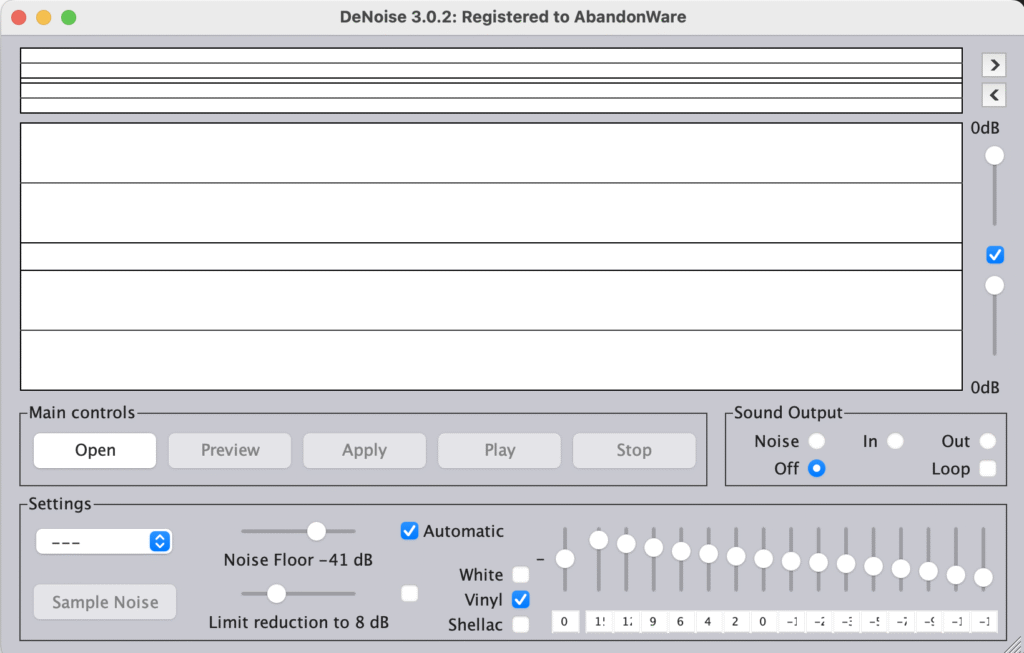
4) DeNoise
Apply a low reduction of the noise of the record, stay conservative, let’s say bellow 10db of reduction.
Suggestion of DeClick sensibility
| Record grade | Sensibility |
| M | 10 |
| NM | 15 |
| VG+ | 25 |
| VG | 35 |
| G+ | 40 |
| G | 50 |
| F | 65 ( but it will not be perfect and you should try to get a new version of the record) |
I hope that this page will help you to begin with the ClickRepair suite of applications.
Leave a Reply